This Star Trek Decorated Sugar Free Cake Tutorial tells how I used Pillsbury Zero Sugar devil’s food cake mix and Pillsbury Zero Sugar vanilla frosting and cocoa powder to make this pop culture sugar free cake.
I needed to make a cake for someone who is diabetic and wanted a sugar-free cake. This was some new because I am used to baking with sugar and using fondant and buttercream icing and ganache to create cakes. It was a bit of a challenge. I did not want to add a sugar substitute to make the bought frosting any thicker, so I was constrained by the consistency of the bought frosting. This eliminated piping the icing into shapes.
The cake I made was 6 inches in diameter and 4 inches high.
Making the Stencil
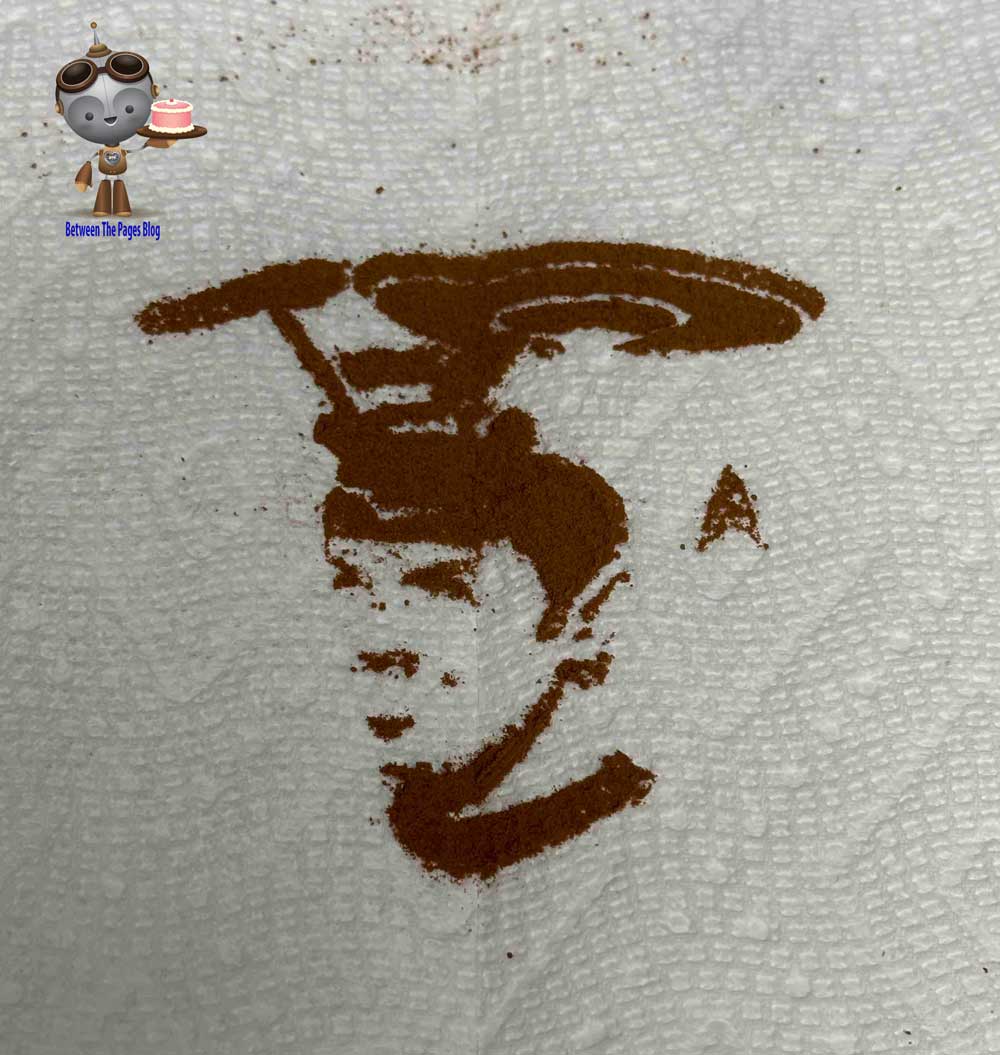
I searched the web for Star Trek images I liked since I was making the cake for a Star Trek fan. I found silhouettes of Spock and the USS Enterprise NCC 1701. Spock is based on this Spock stencil. Next I used Photoshop elements to combine the images. Then I imported the image into the Cricut design software. After that I sized it to the correct size for a 6 inch cake. Next I sliced it with a larger 6.20 inch circle so that I had a circle shaped stencil that fit over the cake.
After I printed the stencil on the Cricut, I tested the stencil on a paper towel with cocoa in a fine mesh strainer. Once I had the stencil and the top design of the cake next it was time to bake the cake.
Making the Cake
Use 6 inch pans to make the cake taller instead of wider
I baked the cake mix in two 6 inch by 3 inch high pans. I could have also used three 6inch by 2 inch pans and made 3 layers. Instead I chose to go with 2 layers to have less frosting. Conversely, I might have been able to use 2 six inch by 2 inch high pans, but I am not sure if the batter would overflow. My baked layers in the 3 inch high pans were about 2 1/8 inches tall.
Apply parchment paper, shortening, and flour to the pans
I used a paper towel with Crisco shortening to apply a light coating shortening to the pans. Next I cut out a piece of parchment to fit inside the bottom of the pan and stuck it to the bottom of the pan. Then I put in flour and shook it all around the pan to coat the sides. Then I dumped any excess flour.
Test for Doneness
I cooked the cakes around 40 minutes at 325 degrees. I waited until the cakes did not jiggle when the pans were moved and look firm. Also if you very lightly press on the top of the cake it should bounce back slightly when done. If not done, it will just sink in. Also I used a ThermaPen to check if the cakes were around 202 degrees to show they were done.
Let Cake Layers Cool
As soon as I took the cakes out of the oven, I used a folded paper towel and oven glove to gently push down on the center that was humped to try to carefully flatten it to the same height as the rest of the layer. Be very careful not to tough the pan and get burned. I also leveled the cake later so this allowed me to cut off less cake.
After baking the cake layers, I let them cool for about 15 minutes in the pan. Next I ran a spatula around the edges of the pan to make sure no cake was stuck to the sides. I made sure to keep the spatula toughing the pan so that it did not dig into the cake. After that I transferred them to a wire rack to finish cooling out of the pan. I let them cool for several hours to settle. Since the frosting is soft, if the cake settles at all after assembly, it can generate humps in the icing on the sides of the cake.
Level the Layers
Next I placed the layers in the freezer to firm up a bit before removing cake to level the layers. I used the wilton cake leveler to take off about 1/8 inch. I cut near the end of the cake saw.
Next I wrapped each layer in plastic wrap and placed them in the freezer over night to firm up for assembling the cake.
Assembling the Cake
The next morning I took the cake layers out of the freezer. Next I put a little bit of icing on a 6 inch cardboard circle. After that I placed the first layer onto the cardboard circle. Next I put frosting on top of the layer and placed the next layer on top.
With a straight edge smoother, I checked to make sure that there was small amount of room for icing between the cake board and the cake. If any cake rubs against the the smoother, cut off just enough so that there is room for a thin layer of frosting.
Smoothing Sides
After that I put the cake back into the freezer for a few minutes to let the frosting firm up some. Next put frosting the is a little over 6 inches in diameter onto a piece of parchment paper and turn the cake upside down and place onto the icing.
Level the Cake
After that I placed a level onto the cake board on the bottom of the cake and checked to see if it is level. Here’s the steps I took. Gently push down to make the cake level. Once the cake is level, take excess frosting and pull up onto the sides of the cake and cover the sides of the cake with additional frosting as necessary. After the sides are covered and somewhat smoothed, place back in freezer to firm up. Then take out and run smoother over surface to smooth it and add additional icing as necessary. Put back in freezer and continue this process until sides are smooth as you want.
Smoothing Cake Top.
Coming from outside toward center, gently use smoother to go over the top of the cake and level the surface. Add icing as necessary to fill any any holes. Think of it like landing an airplane onto the outside edge of the cake and going in toward the middle. If you do the opposite and go from the inside to the outside you will move the edges out and they will no longer be 90 degrees to the side of the cake. Use a smoother around the sides to take off any excess that goes past edge of cake. You may need to put the cake back in the freezer periodically if the icing starts to get soft.
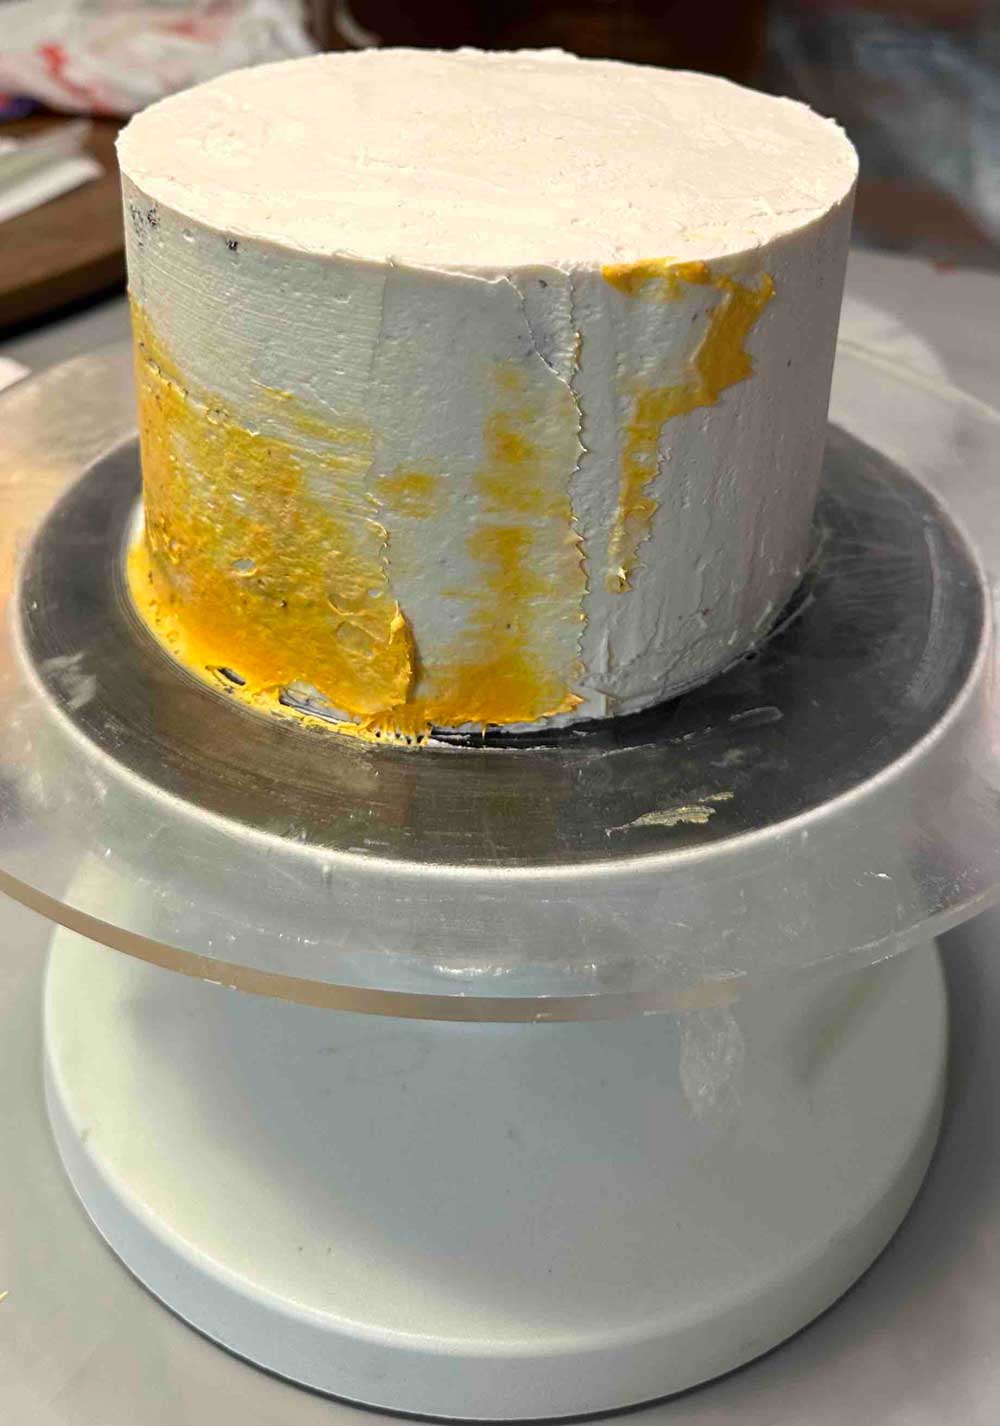
Here’s a picture of the frosted cake. It has some yellow icing too because I was trying different methods to decorate it and had to scrape off some of the icing because many methods did not work correctly with the softer bought frosting. Also the person’s favorite color was yellow so I decided to decorate the cake with various shade of egg yellow.
Decorating the cake
Next I placed the cake back into the freezer so that the frosting would be firm. While the cake was in the freezer, I covered an 8 inch cardboard circle with cake foil.
Here’s a picture of the cake on the cake foil covered cake board.
Decorating the Sides
I wanted to use various shades of yellow to decorate the sides of the cake since the birthday person’s favorite color is yellow. I took about 2 tablespoon’s worth of frosting and colored it a darker egg yellow so that it had an orange hue. Next I took part of that and added white and made a lighter color. Then I took part of that bowl and made a third bowl that was lighter still. The end result was 3 bowls with about 1- 1/2 tablespoons of frosting in varying shades of egg yellow.
Next I placed the bowls into the microwave and warmed at 10 second intervals until it was somewhat liquid. Be sure to stir and check in between each time. If it is warmed too long it will burn.
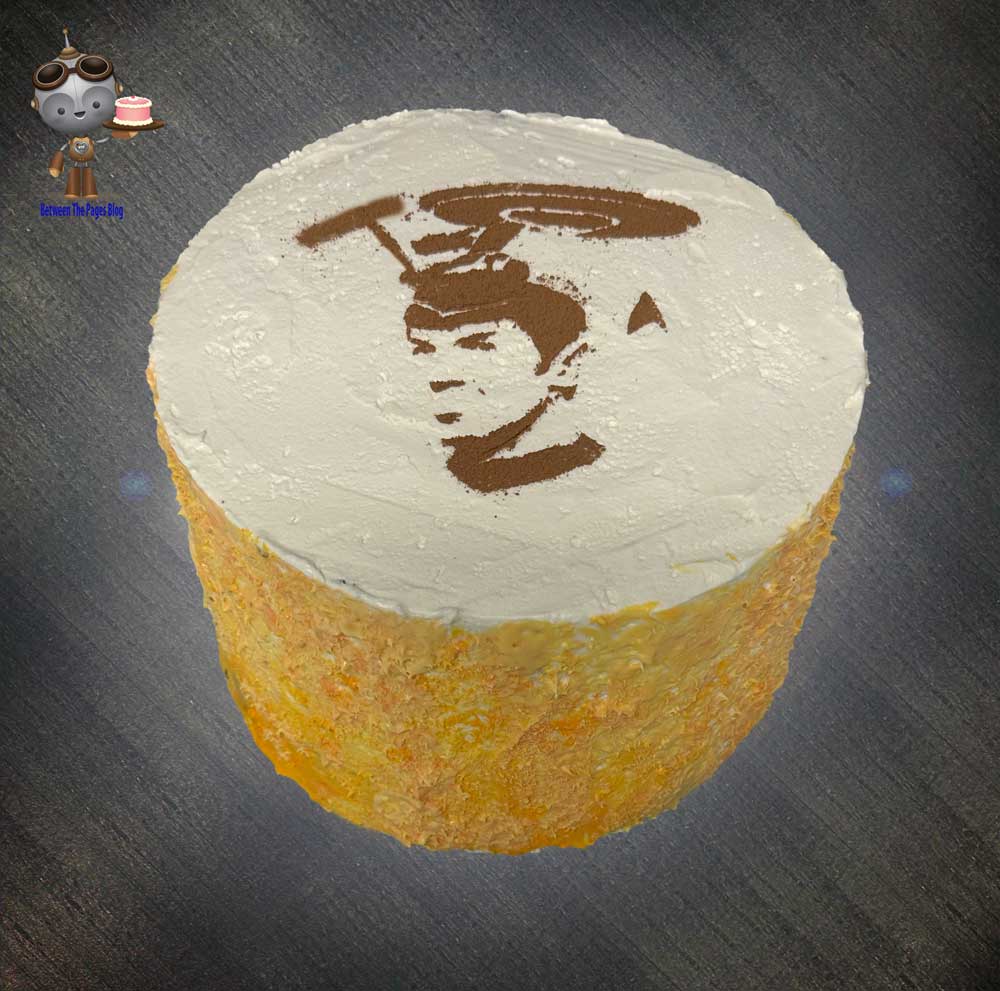
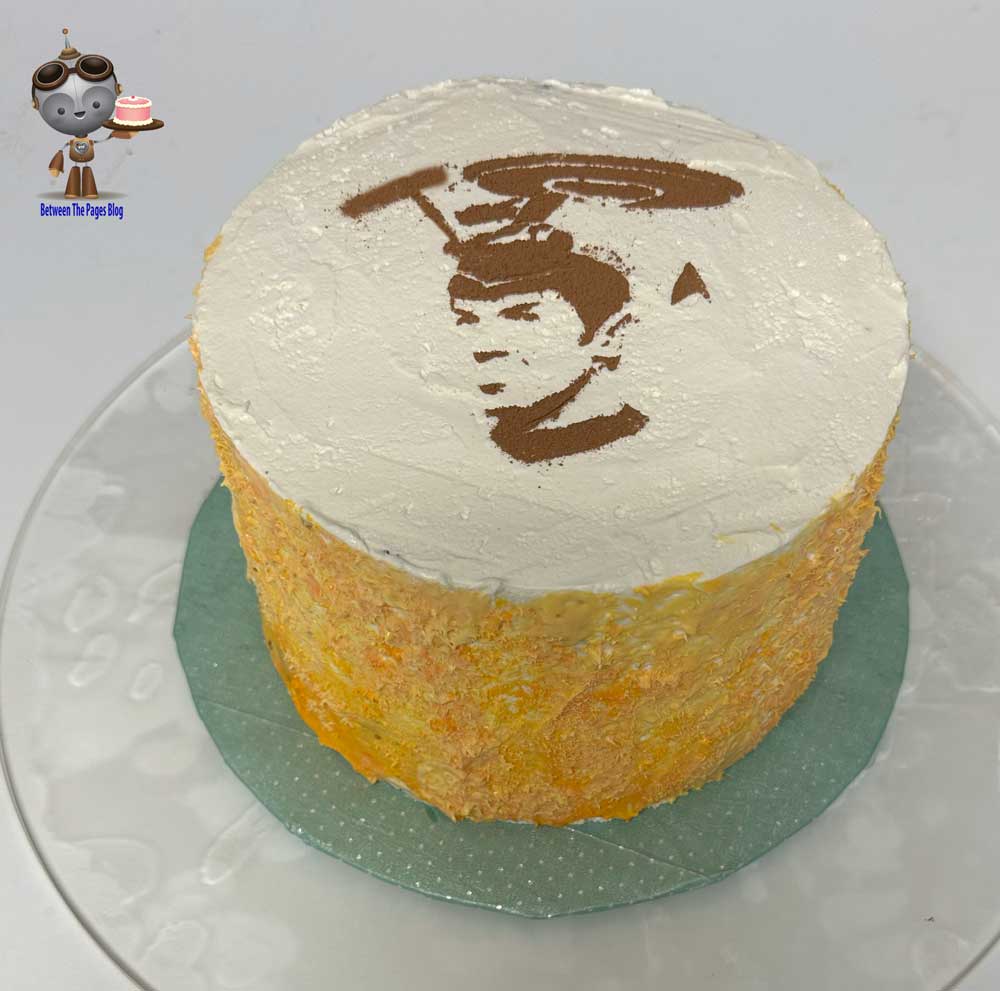
After that I used a round cosmetic brush (only used for food) to dabble on the different colors of yellow frosting to give it the speckled appearance.
Placing the stencil design on the cake
Place the cake into the freezer until the frosting is nice and firm so that the stencil will not stick to the cake. Next place the stencil gently onto the top of the cake. After that place about a tablespoon of cocoa powder into a fine mesh strainer and gently shake it over the stencil to completely cover the design. Next carefully and gently remove the stencil from the cake leaving the design on the cake.
If you ever want to make pop culture cakes and cookies and don’t need sugar free, you may also be enjoy these Pop Culture Tutorials and these BetweenThePages Creations.